3D Printing a custom case for my Flipper Zero's Wifi Devboard
Step-by-step instructions I used to build and assemble a case for my Flipper accessory
by Danver Braganza on 2022-06-26
The Flipper Zero
I’ve been a big fan of the Flipper Zero since I ran into it on Hacker News. I recently received mine, and have found it to be a very interesting and amusing toy. If you like geeky things at all, are into to open-source hardware or have an interest in physical electronic security systems, I heavily recommend it.
I was even more thrilled to find out that there were a number of additional expansion devices that ship with. I recently bought the Wifi Devboard. As you can see from that link, it is just a silicon board without a case. Here’s how you can quickly and easily get a case for it, without needing to own a 3D printer.
Grab the 3D files on Printables.com
Reddit user /u/fivesixzero created a 3D model for the dev case, that’s available on Printables.com at this link, and licensed under the Creative Commons (4.0 International License).
You have a few choice to make in the files you use, as described in the details section on that page. I decided that I wanted the rigidity of the Full Case, and that I did not want debug header cutouts.
A quick search on Google told me that 3MF is better than STL, so I made sure to grab the 3MF files from this page
At the end, I had two matching 3MF files, one for the lid, and one for the base.
Send the files to Treatstock
Treatstock is a marketplace that allows you to send out 3D designs to service providers, who will print and ship your design to you. Since I currently don’t own a 3D printer, I decided to go with them.
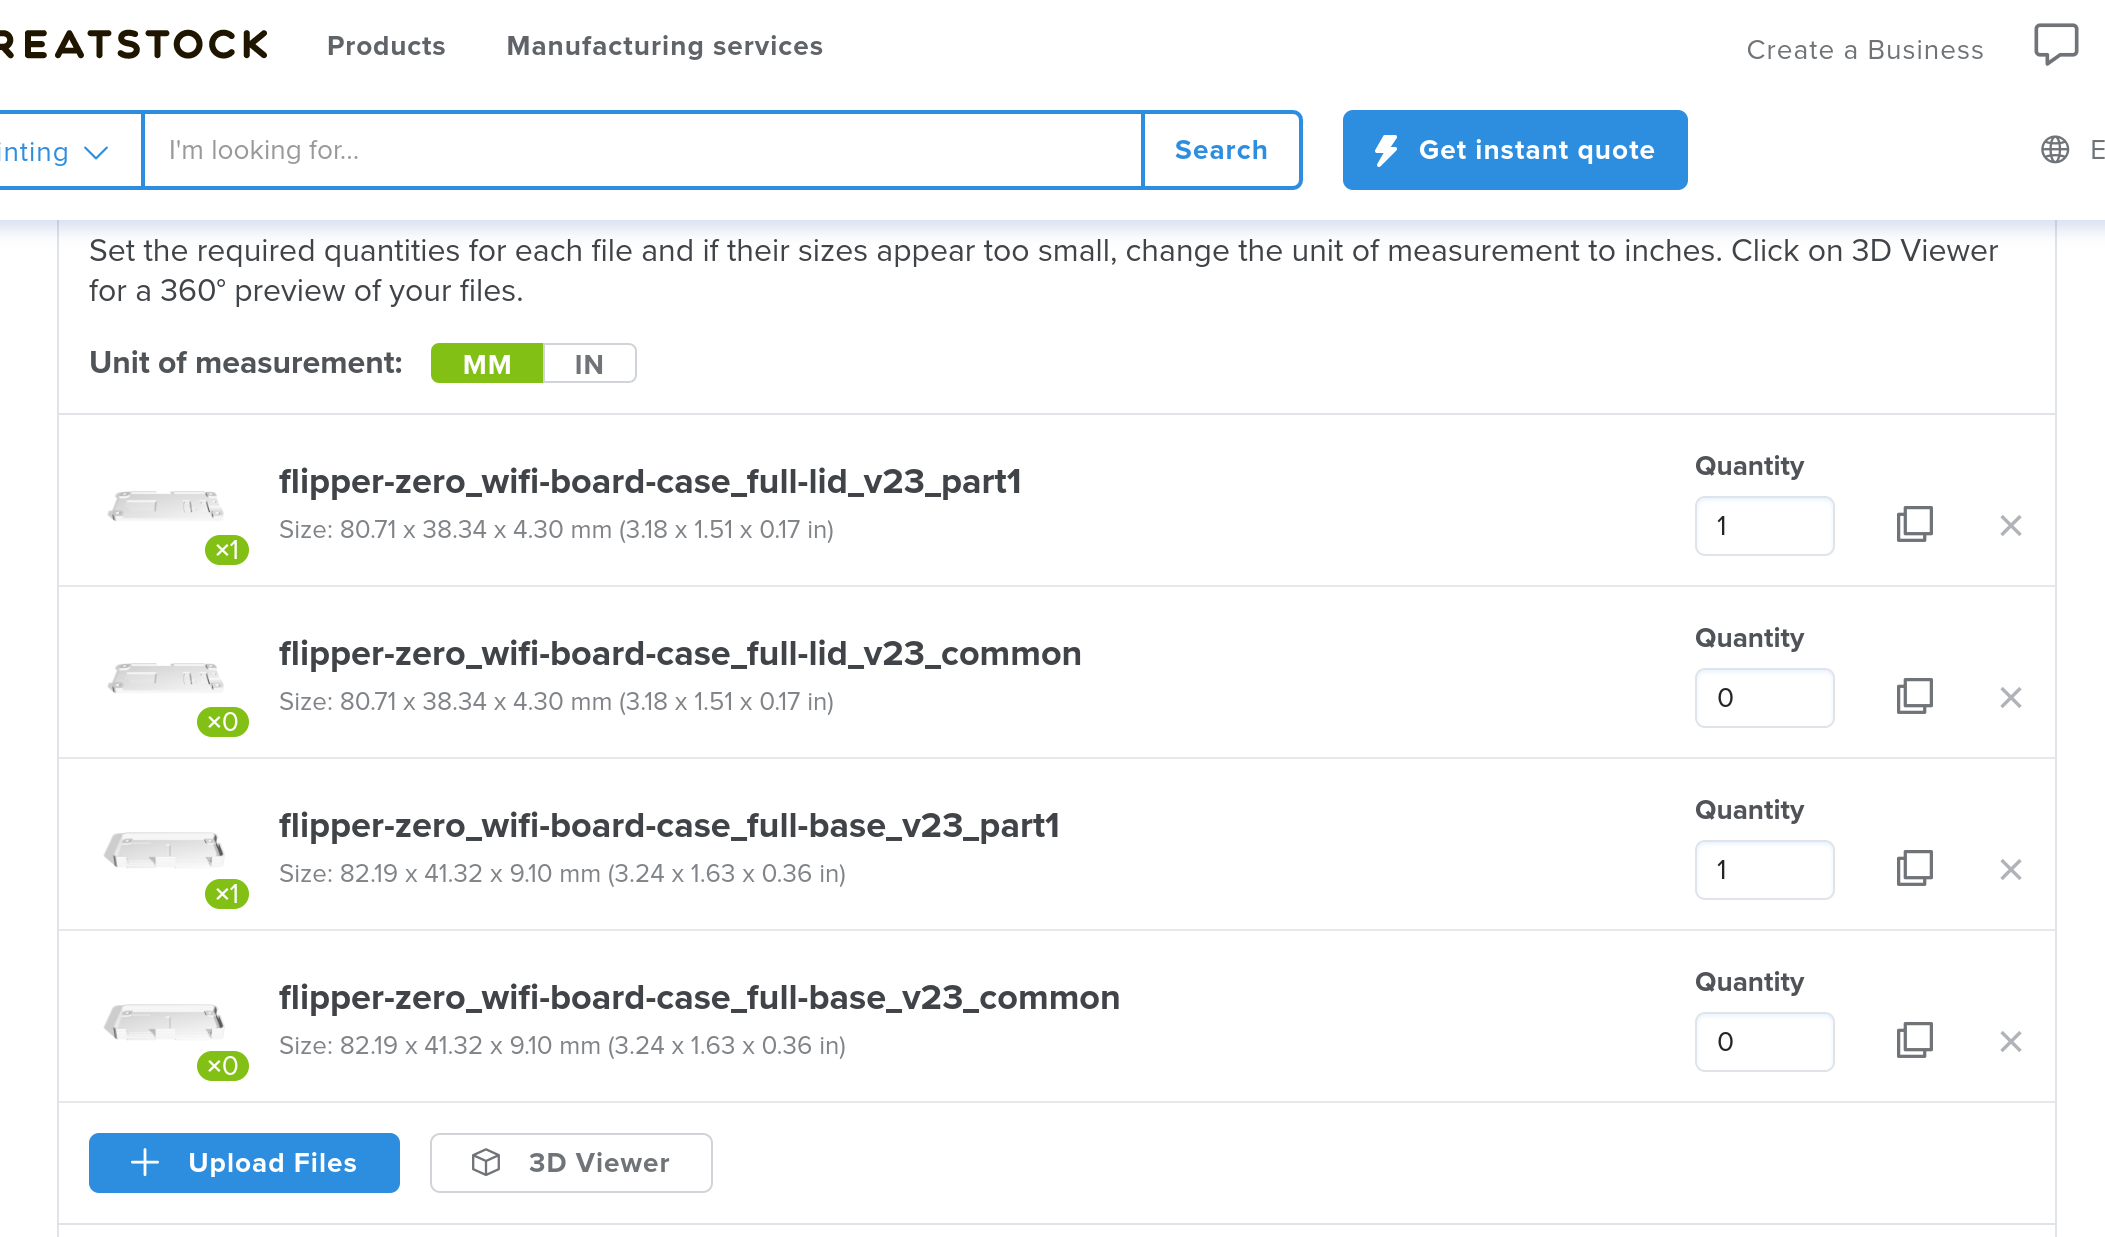
I uploaded the designs to their site, and set the unit of measurement to millimeters. The website automatically set the quantity of the parts to 1, and the quantity of the “common” to 0. I genuinely don’t know what this is, so I left it alone.
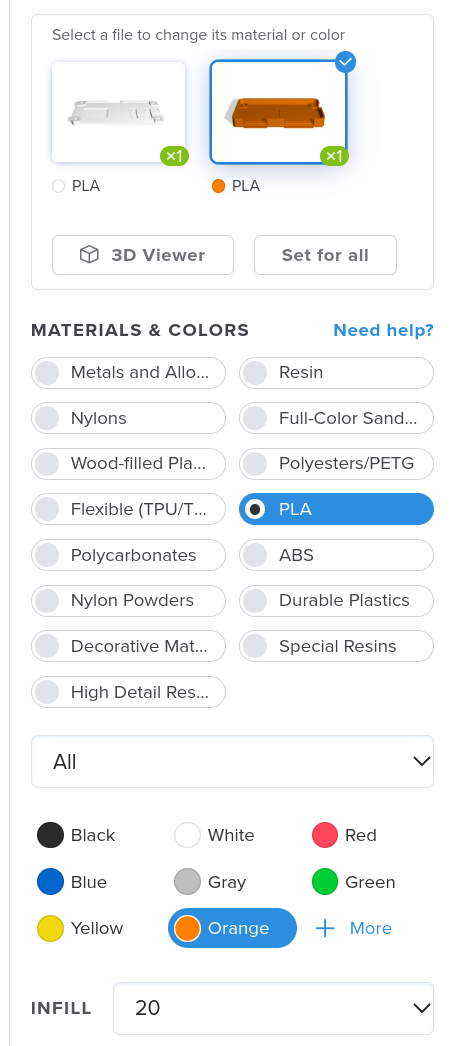
On the next page, I selected the colours I wanted for the pieces. Although the model files apparently had colouring information in them, you need to set it for the design you want.
I picked PLA for material in both cases, and I set the colour of the base to orange, and the colour of the lid to white. Of course, you can set them to whatever combination you desire.
You should see a list of providers who are able to make this print for you. I went with my first result, EB3D Prints, and I was not disappointed. I’m not sure what the prices look like for you right now, but I saw several options for around USD $20, shipping included.
Grab a couple of M3 screws with nuts
While I was waiting for my model to print, I also went online to Amazon to grab a set of M3 screws I only needed the M3x8mm version, but I thought it might be useful to have a full set on hand in case they come in handy.
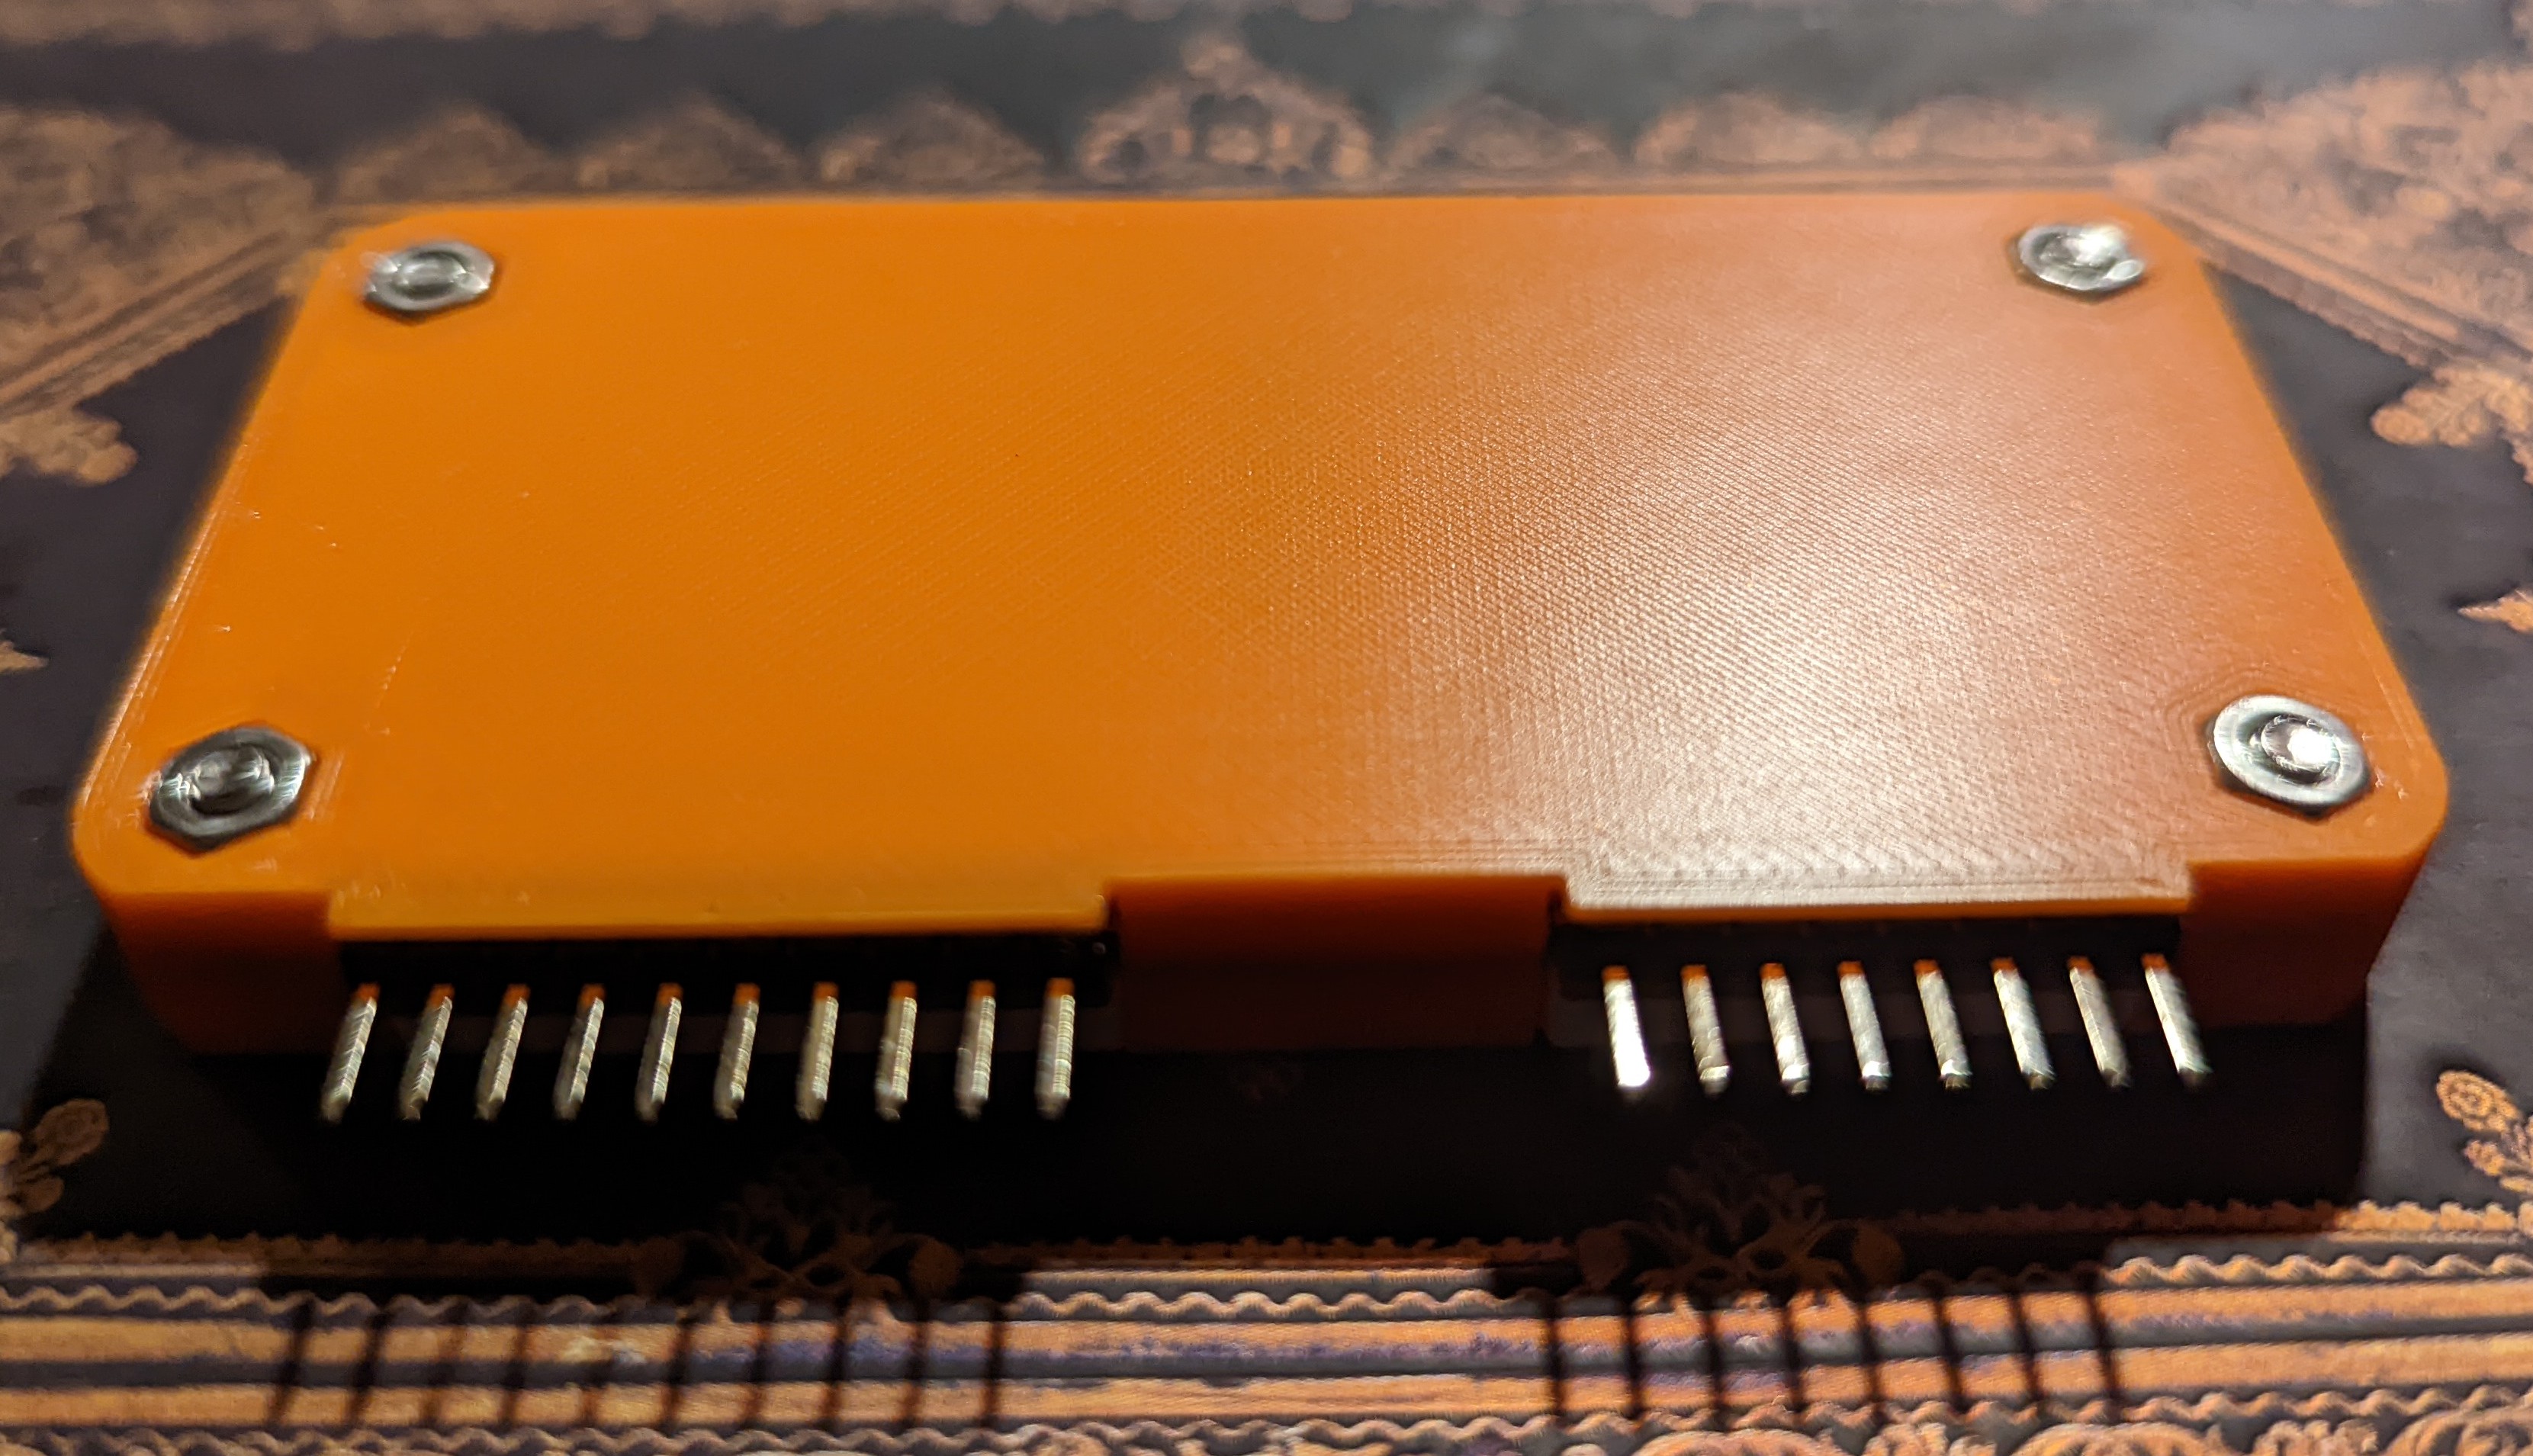
Note that the 8mm screws protrude slightly from the back of the finished product. This doesn’t bother me, but if it did bother you might want to try out M3x7mm screws instead. I’m not sure if they would even connect, to be honest, so you’re on your own on this one.
Assemble everything together
All the pieces pieces I ordered arrived over the weekend, and I was able to put them together. The lid and the base fit snugly and satisfyingly around the devboard. Here is a picture of the finished product.
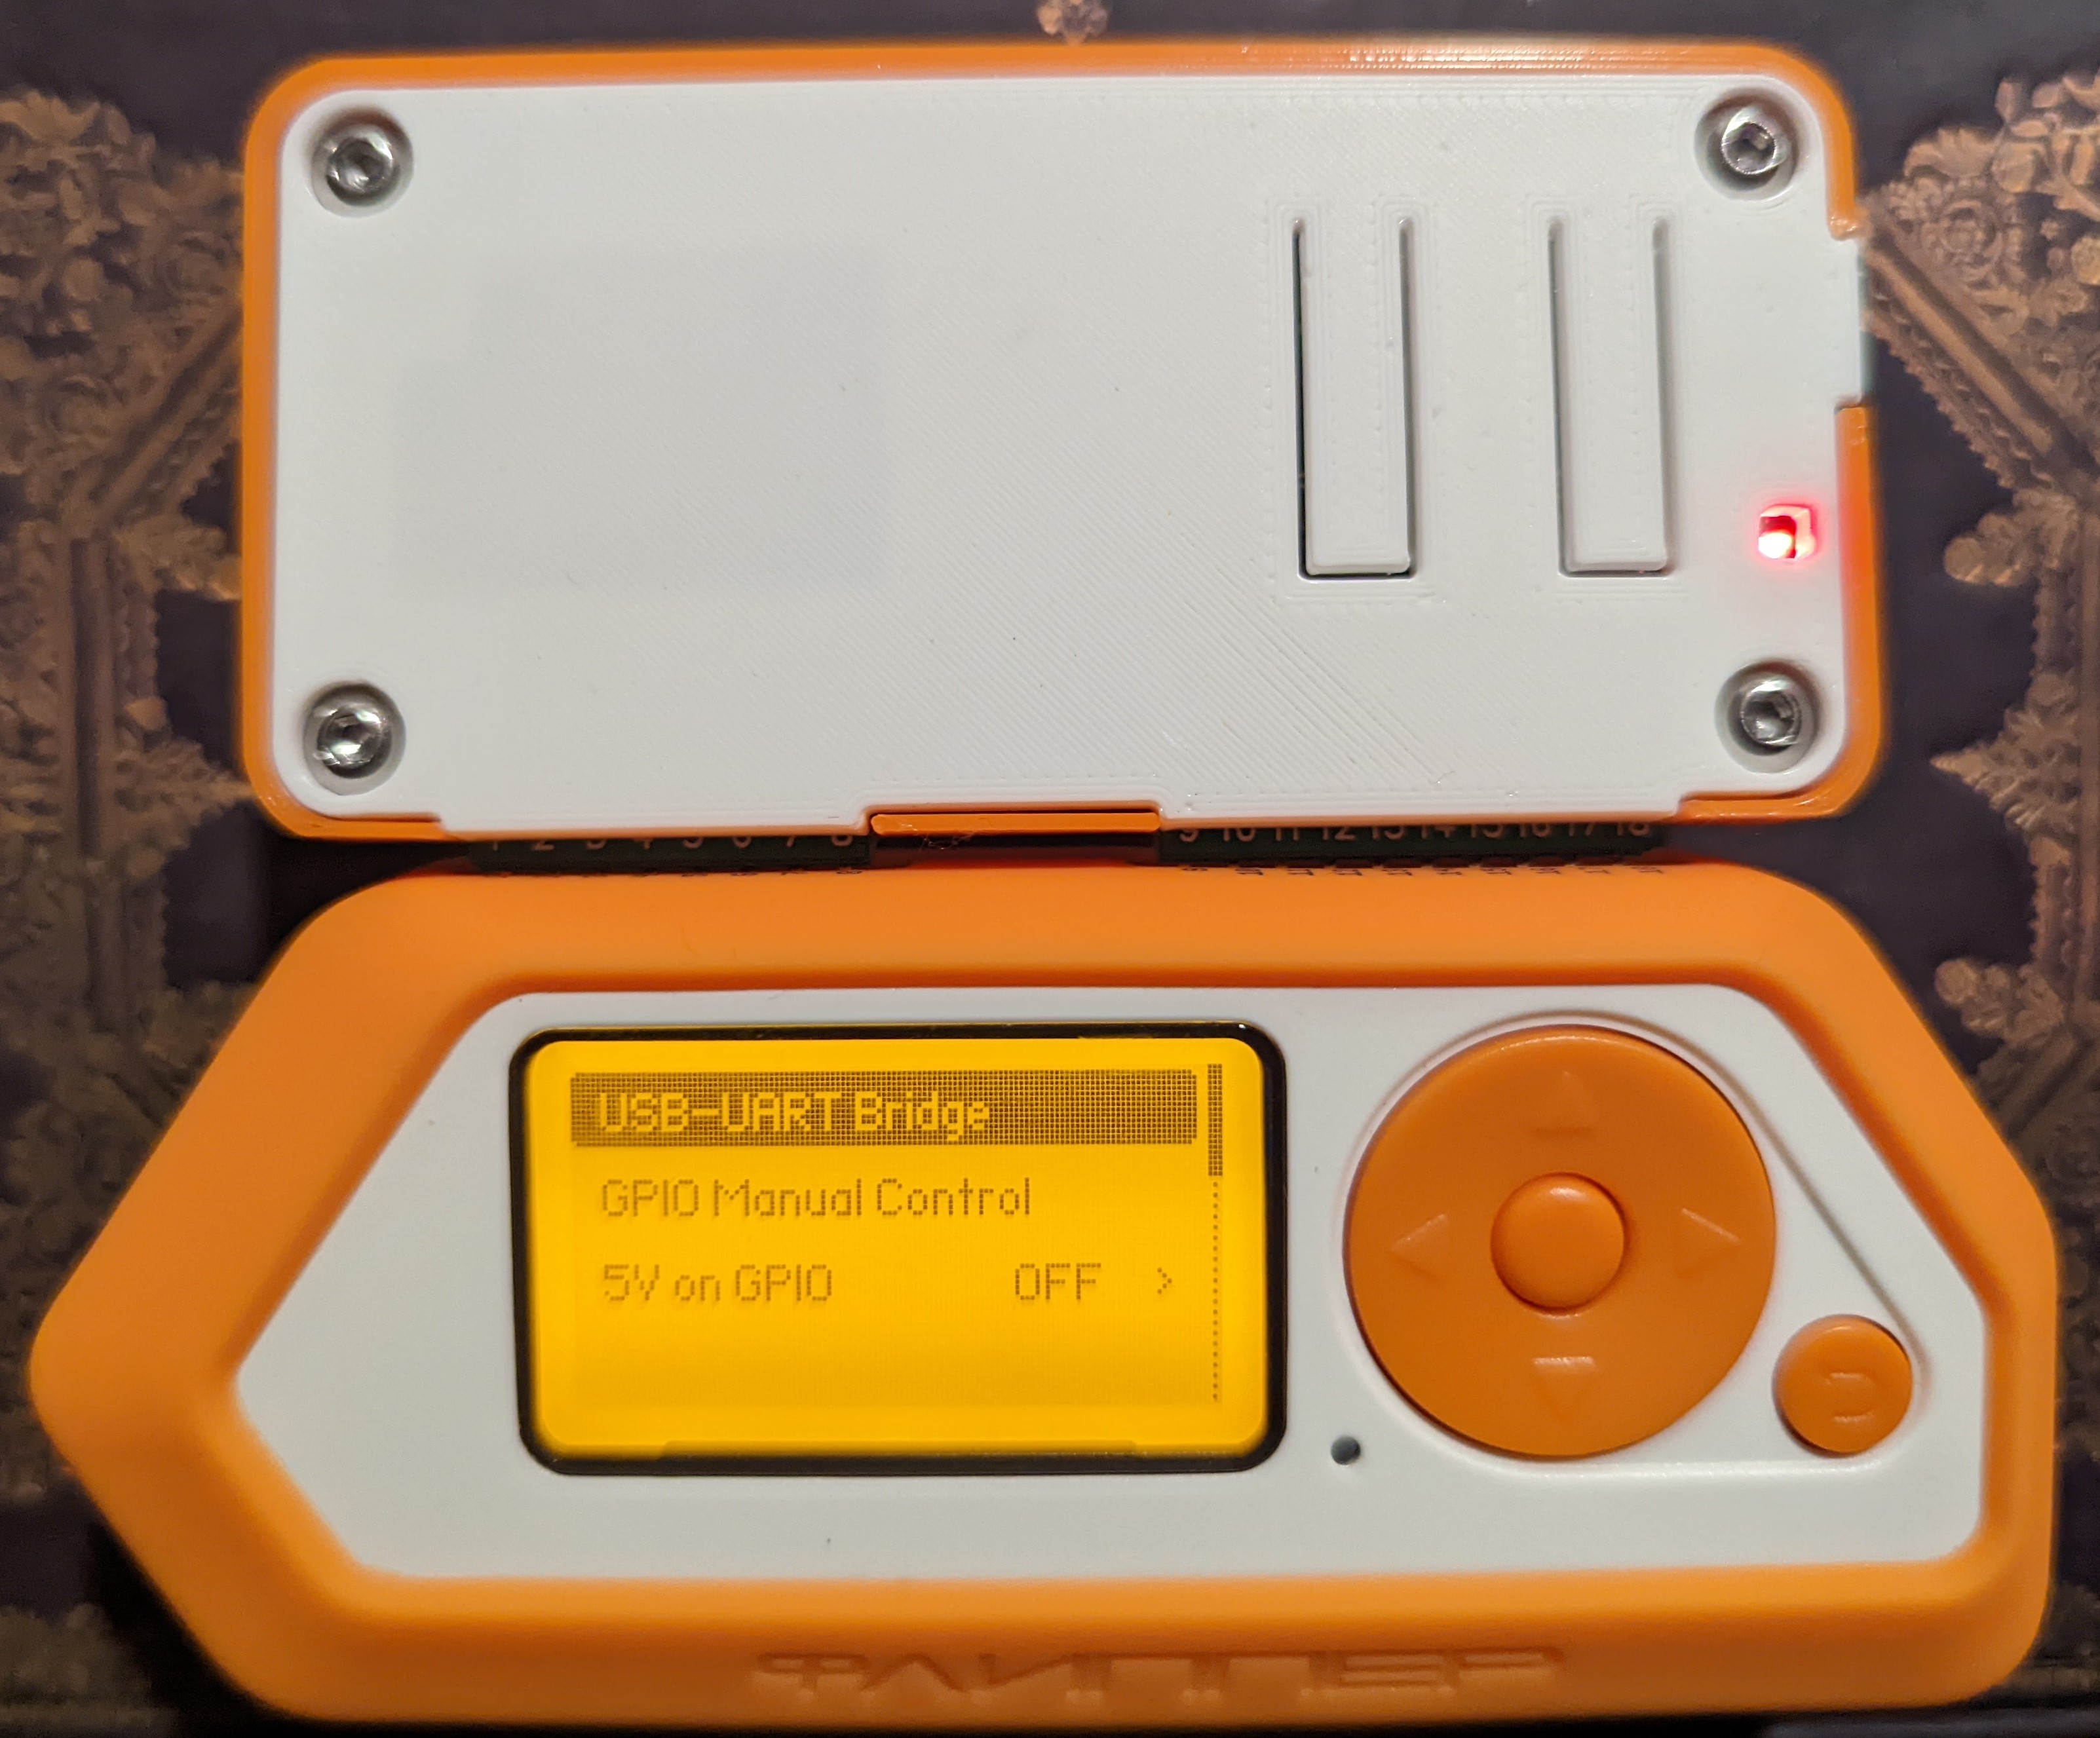
And here is another picture, showing the Wifi board plugged in to the Flipper.
I want to say a massive thank you to /u/fivesixzero for sharing his work with the rest of us. I’m looking forward to lots of fun Flipper times ahead.
Other articles you may like
- Roll-Invert-Unroll: An Easier Way to Replace a Duvet Cover This way of putting a cover onto a duvet might save you effort and time!